
Desktop: Getting Started
Language: 中文 | English
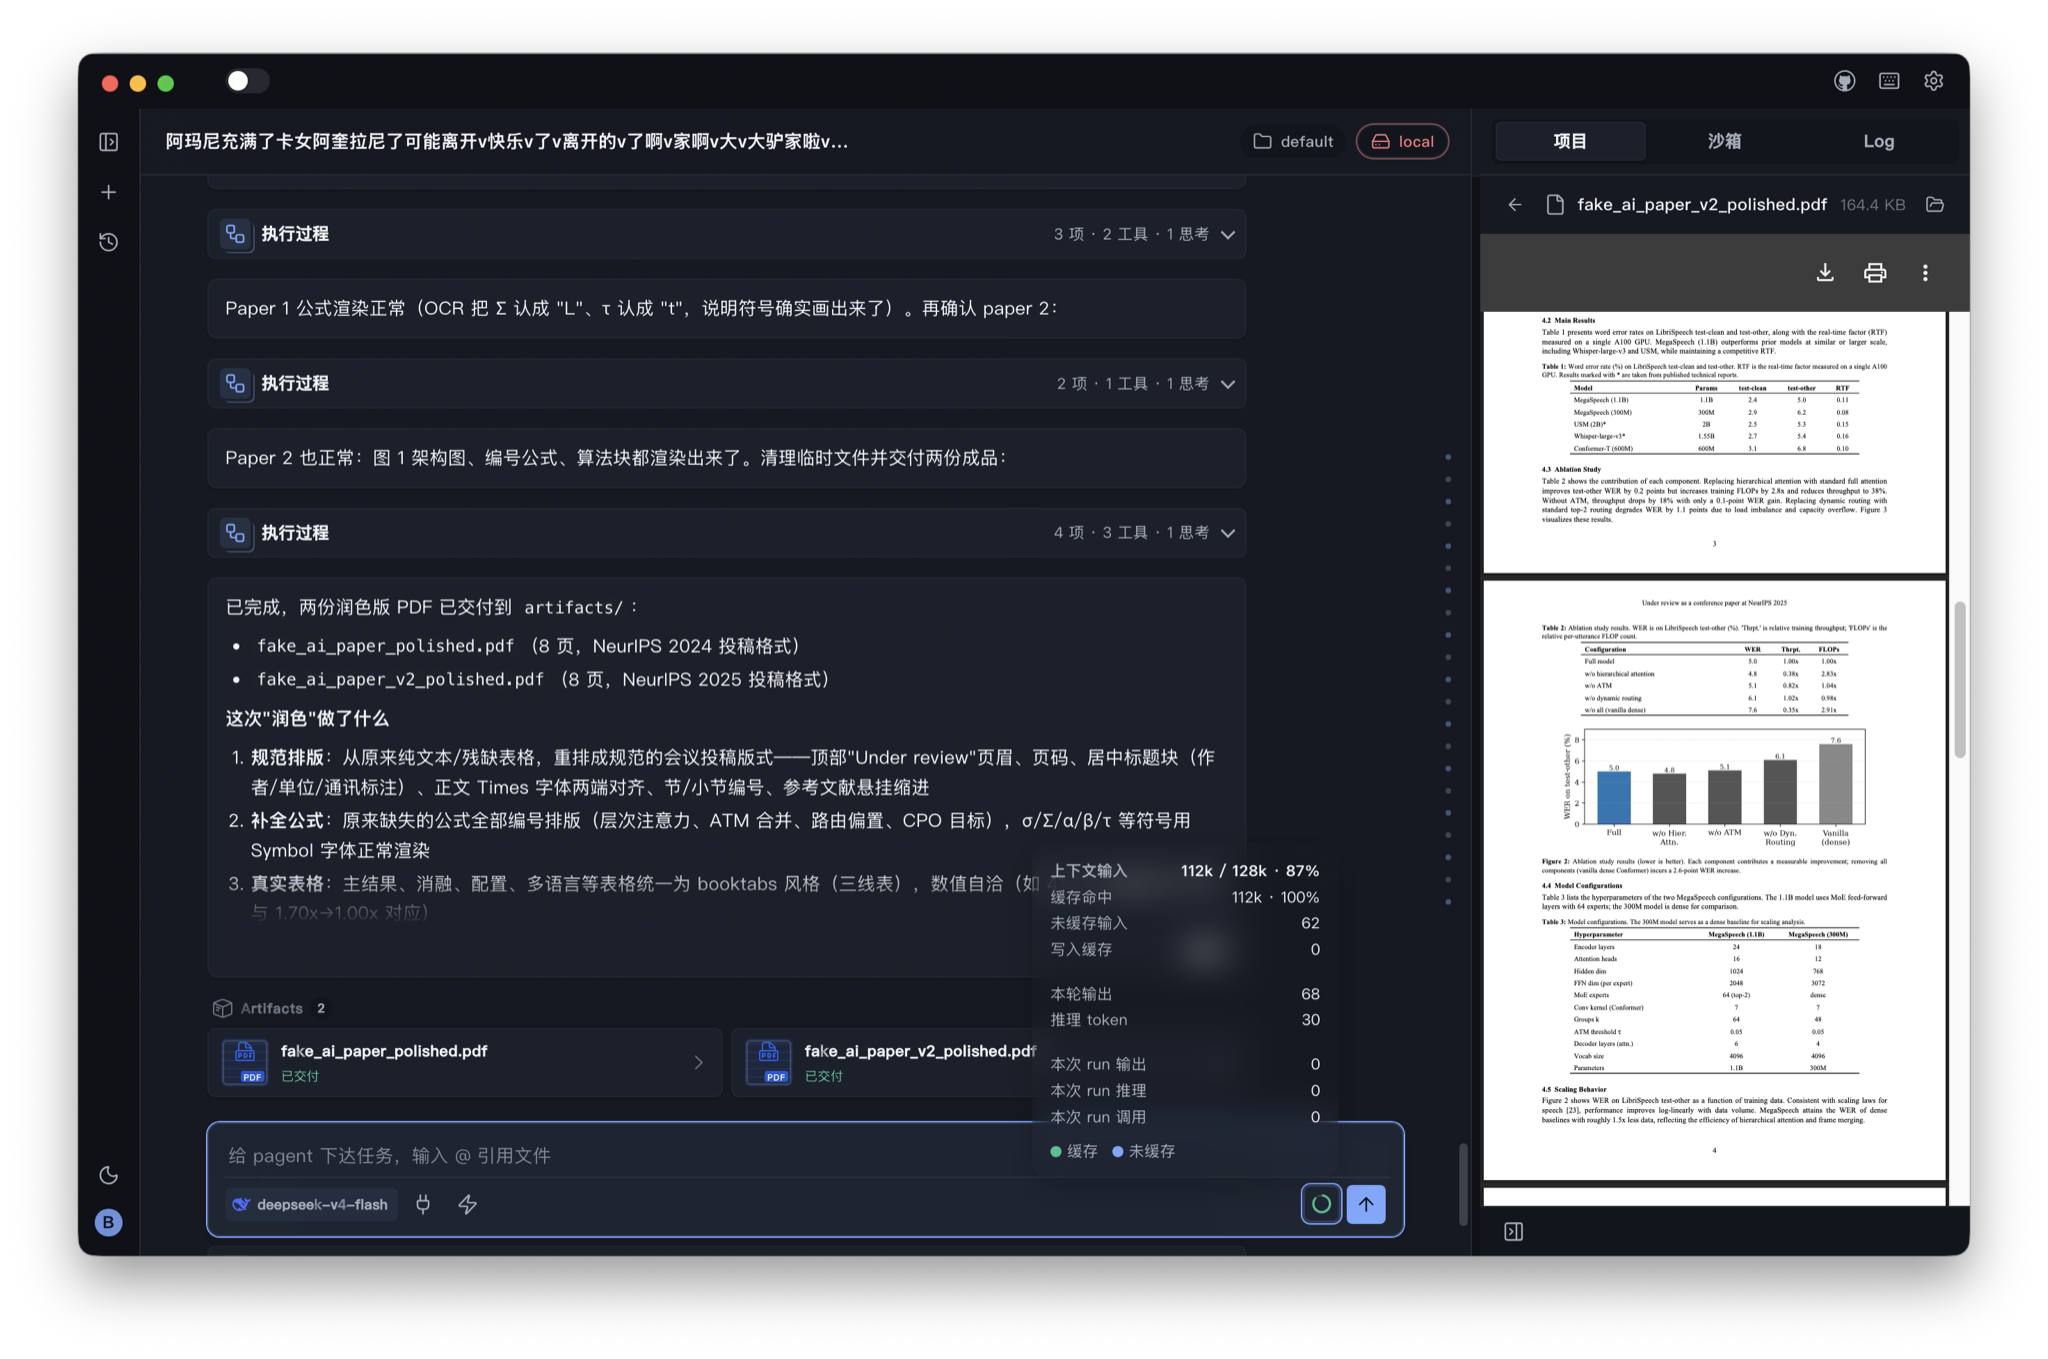
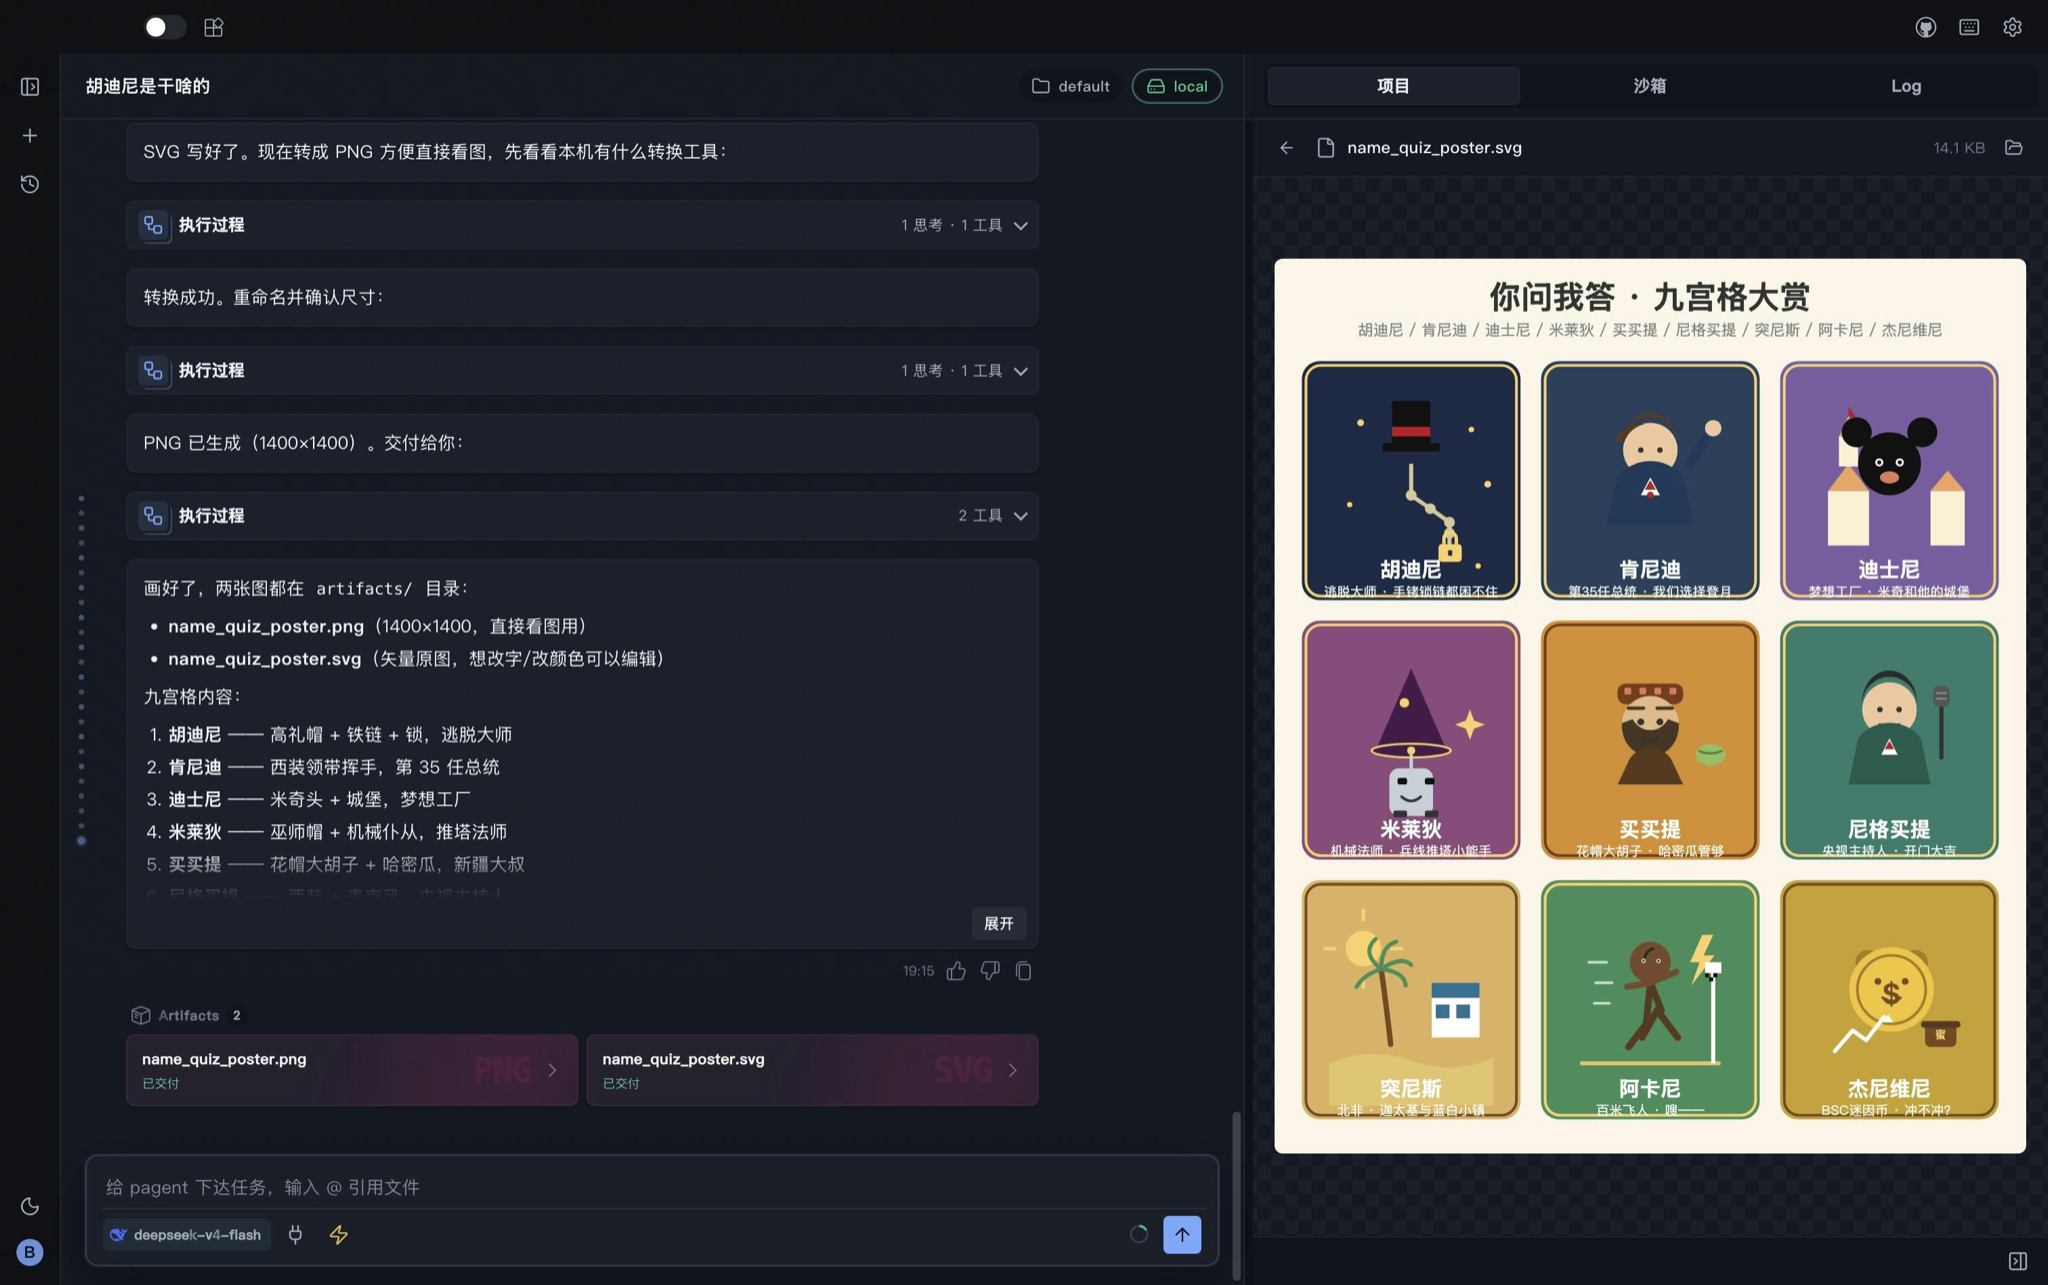
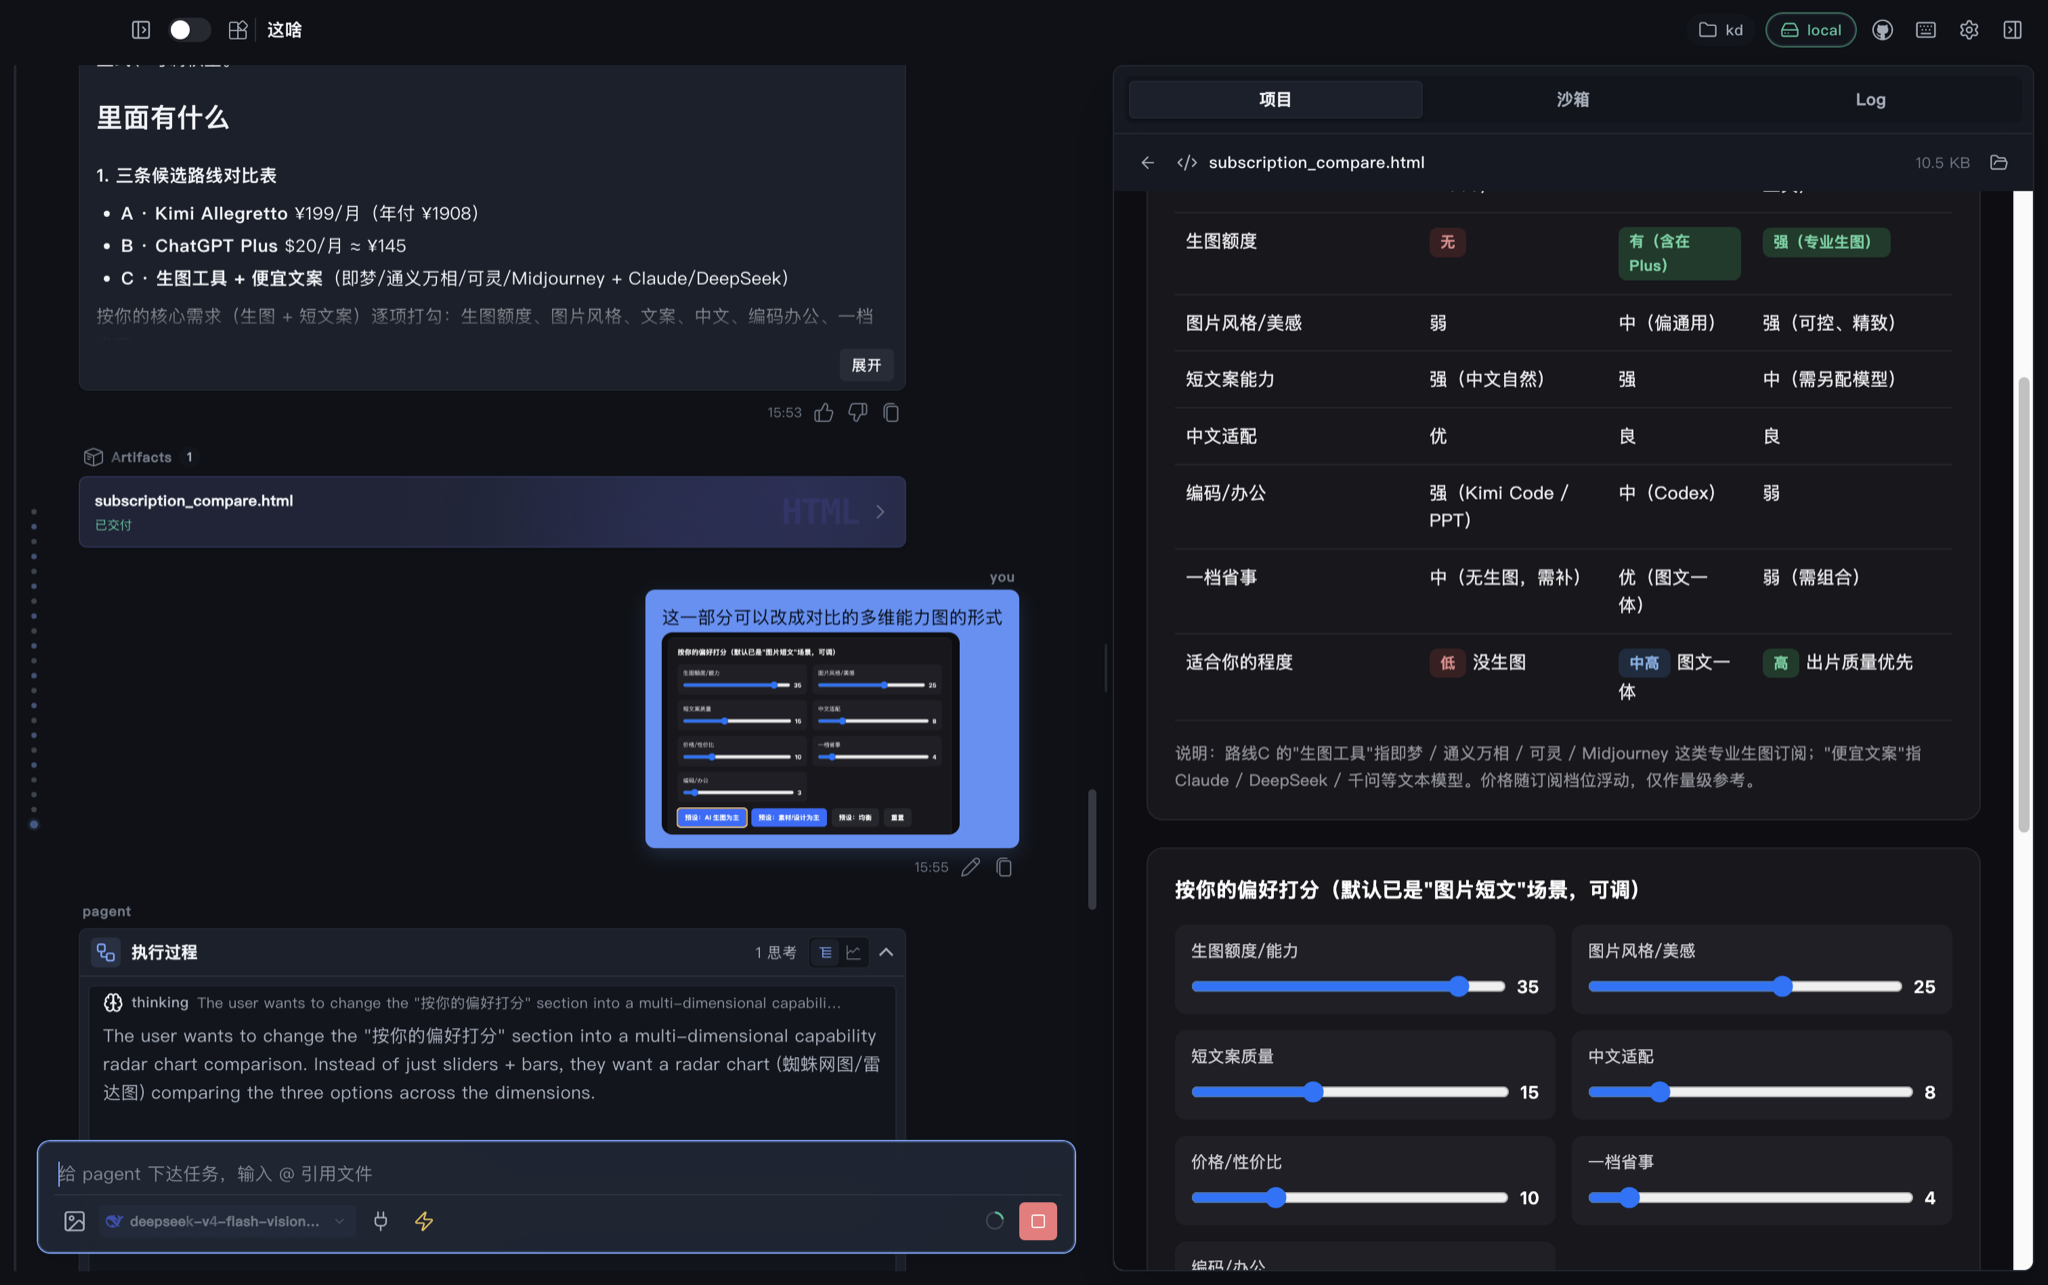
pagent Desktop is a desktop app that lets you chat with an AI and have it do real work on your computer. You describe a task in plain language; it reads and writes files, runs commands, and generates web pages or PDFs — with the results shown on the right side of the window.
This guide is for first-time users: from download to your first message, step by step. To work on the desktop source, see the developer README.
The app UI is in Chinese
The desktop app currently ships Chinese-only UI. This guide keeps the on-screen Chinese labels in quotes (e.g. 新建任务 / New task) so you can match them to the buttons you actually see.
Desktop in action
Five-minute path
What you need
- A Mac (Apple Silicon, M1 or later). For Windows / Linux, see Other systems.
- An API key from a model provider (e.g. DeepSeek's
sk-...). No key yet? The wizard points you to where to get one. - About 10 minutes.
No coding required, and you don't need Docker up front.
Step 1: Install the backend (required)
The desktop app is just the shell. The real work is done by a command-line program called pagent. Install it first.
Open Terminal (search "Terminal" in Launchpad) and run:
uv tool install pagentNo uv? uv is a small tool for managing Python environments. Install it first via the install guide, then come back and run the command above.
When pagent --help prints help text, you're good.
Don't skip this
The app looks for the pagent command at startup. Without it, you'll see "cannot start backend."
Step 2: Download the app
Go to pagent GitHub Releases and download the latest:
- macOS (Apple Silicon) — named like
pagent-Desktop-<version>-mac-arm64.zip
Unzip it and drag pagent Desktop into your Applications folder.
macOS says the app is "damaged"?
The app is not broken. Because it isn't signed with a paid Apple certificate, macOS blocks all "unidentified" apps this way. The fix is one line.
Open Terminal and run (adjust the path to where you installed it):
xattr -cr "/Applications/pagent Desktop.app"Then open the app normally. The unzipped folder also contains 打开说明.txt (open instructions).
Why does this happen?
xattr -cr removes the "quarantine" flag macOS puts on downloaded files. This is standard for unsigned apps — many open-source tools need the same step. Right-click → Open sometimes works too, but often not for the "damaged" message, so prefer the command above.
Windows / Linux
macOS is the main published build for now. Windows / Linux packages are being rolled out through CI. Until then, you can:
- Use the VS Code extension (cross-platform, same features), or
- Use the
pagentcommand line directly.
Step 3: Follow the setup wizard
The first time you open the app, if pagent isn't installed or no API key is set, a setup wizard (首次设置 / Setup) opens automatically. It has three steps and the main UI stays locked until you finish — just follow along.
The top reads 完成下列步骤后即可开始使用。 (Complete the steps below to get started.)
Step 1 — Environment (环境)
This checks whether uv and the pagent CLI are installed:
- Both show 已安装 (Installed) → you'll see 环境已就绪,可以继续。 (Environment ready). Click 下一步 (Next).
- Anything showing 需要安装 (Needs install) → click 安装 pagent (Install pagent — the app does it for you), or 复制命令 (Copy command) to run it yourself, then 重新检测 (Re-check).
Step 2 — API Key
Enter your model API Key (looks like sk-...) and pick a 模型 (Model). Leave Base URL(可选) (optional) empty to use the default.
- If a key is already detected, the wizard says so — fill it in only to change it.
- The key is written to your local config file at
~/.pagent/pagent.toml.
Step 3 — Sandbox (沙箱)
The "sandbox" is where the AI does its work. Pick 本机 (Local — recommended, no Docker); you can change it later per task. Click 完成 (Finish) to enter the app.
| Option | What it means | For whom |
|---|---|---|
| 本机 (Local) | Isolated scratch workspace on this Mac, no Docker | Almost everyone (default) |
| 直接编辑 (inplace) | Edits the selected 项目目录 in place | Coding a git repo like a CLI |
| 容器 (Container) | Commands inside Docker/Podman; files stay in the thread workspace | Need a Linux image |
| 远程 (Remote) | SSH to another machine | GPU / HPC / remote toolchain |
These four are separate backends, not variants of inplace. Full map: Choose a backend.
Want to configure later?
The wizard has 稍后配置 (Set up later) at the bottom to skip some steps. But you must have an API key before sending a message, or you'll get an error.
You can reopen this wizard anytime from the bottom-left user menu → 首次设置 (Setup).
Step 4: Create a task and send your first message
In the main window, click 新建任务 (New task) on the left.
Fill in three things:
| Field | What to pick |
|---|---|
| 沙箱类型 (Sandbox) | Pick 本机 for an independent workspace, or 直接编辑 to modify the selected project folder in place |
| 镜像 (Image) | Only appears for 容器 (Container); a local pagent image like pagent:latest |
| 项目目录 (Project folder) | Click 浏览 (Browse) and pick the project for this task |
Click 创建会话 (Create session), type in the box at the bottom, and press Enter to send (Shift+Enter for a new line).
直接编辑 works like starting a coding agent inside the project folder. File changes take effect immediately, so keep the project under version control. In this mode, use the 项目 panel to browse files; the separate 沙箱 tab is hidden.
Try saying:
Create an index.html in this folder — a simple personal homepage
You'll watch the AI work step by step, and the generated page appears on the right.
Get to know the main window
The window has three panes:
- Left · Sessions — every conversation is saved here; click one to continue. 新建任务 (New task) is at the top.
- Center · Chat — messages, the AI's steps, and the composer.
- Right · Files & artifacts — sandbox tree, project files, previews of generated pages/PDFs, and the run log.
Drag the dividers to resize. Press ⌘K or the shortcuts button in the title bar to see all shortcuts.
The composer
The placeholder reads 给 pagent 下达任务,输入 @ 引用文件 (Give pagent a task, type @ to reference a file). Key controls:
| Control | What it does |
|---|---|
| Send / Stop (发送 / 停止) | Send a message; becomes 停止 (Stop) while the AI runs, to cancel |
| Lightning (YOLO) | When on, tool calls are auto-approved — turn on only when you trust the task |
| Ring | Rough share of context used in this conversation |
| @ | Type @ to reference a file from your project or sandbox |
About YOLO (lightning)
By default the AI asks for approval before touching files or running commands. YOLO turns that off and auto-approves everything — fast but risky. Only enable it when you're sure the task is safe.
Right side: files & artifacts
Generated pages, PDFs, and images preview right here. The file tree shows everything in the sandbox and project, and the log shows what the backend is doing — check here first when something goes wrong.
Everyday tasks
Delete a session
In the session list, hover a session and click the 删除会话 (Delete session) icon. A confirmation appears:
It reads 删除「session title」后无法恢复,确认删除吗? (Deleting "…" can't be undone — delete it?). Click 删除 (Delete) to confirm, or 取消 (Cancel). This can't be undone, so double-check first.
Switch / resume sessions
Click any session on the left to switch to it. On startup, the app tries to resume your most recent session automatically.
Settings & help
| Entry | What's inside |
|---|---|
| Title bar Gear (设置 / Settings) | 环境自检 (Environment health — status lights for uv / pagent / API key / container) + 磁盘占用 (Disk usage) + view pagent.toml |
| Title bar Book (文档 / Docs) | Open this documentation site in the browser |
| User menu 扫码看文档 (Scan for docs) | QR code to read the docs on your phone |
| User menu 首次设置 (Setup) | Reopen the three-step setup wizard |
The config shown in Settings is read-only. To change the model or advanced options, edit ~/.pagent/pagent.toml in a text editor.
Prefer to configure the key manually?
Option 1 · Environment variable:
export DEEPSEEK_API_KEY=sk-...Option 2 · Config file (recommended): create ~/.pagent/pagent.toml:
[provider.deepseek]
kind = "deepseek"
api_key = "sk-..."
model = "deepseek-v4-flash"

[agent]
provider = "deepseek"
More providers: Providers & API keys.
Where your files live
~/.pagent/
├── pagent.toml       # your API key and model
├── threads/          # all conversation history
└── skills/           # optional local skills

<your project folder>/
└── artifacts/        # files the AI generated (HTML, etc.)
Protect your key
pagent.toml holds your real API key. Don't share it or commit it to Git.
Troubleshooting
| Problem | Try |
|---|---|
| "Damaged, can't be opened" | Run xattr -cr "/Applications/pagent Desktop.app" |
| Backend / Bridge won't start | Run uv tool install pagent, then check the log on the right |
| Error after sending | Check the key in pagent.toml, or set DEEPSEEK_API_KEY |
| Settings says "no config file" | Create ~/.pagent/pagent.toml as above |
| Tool stuck on "running" | Tap Stop, or send another message |
Going further
- Connect to a remote server: the desktop app can talk to a remote
pagentserver instead of a local one (share sessions across devices). This is an advanced setup requiring transport configuration — see the repo docs. - VS Code extension — the same AI inside VS Code, cross-platform.
- Install guide — start here if you don't have
uvyet.